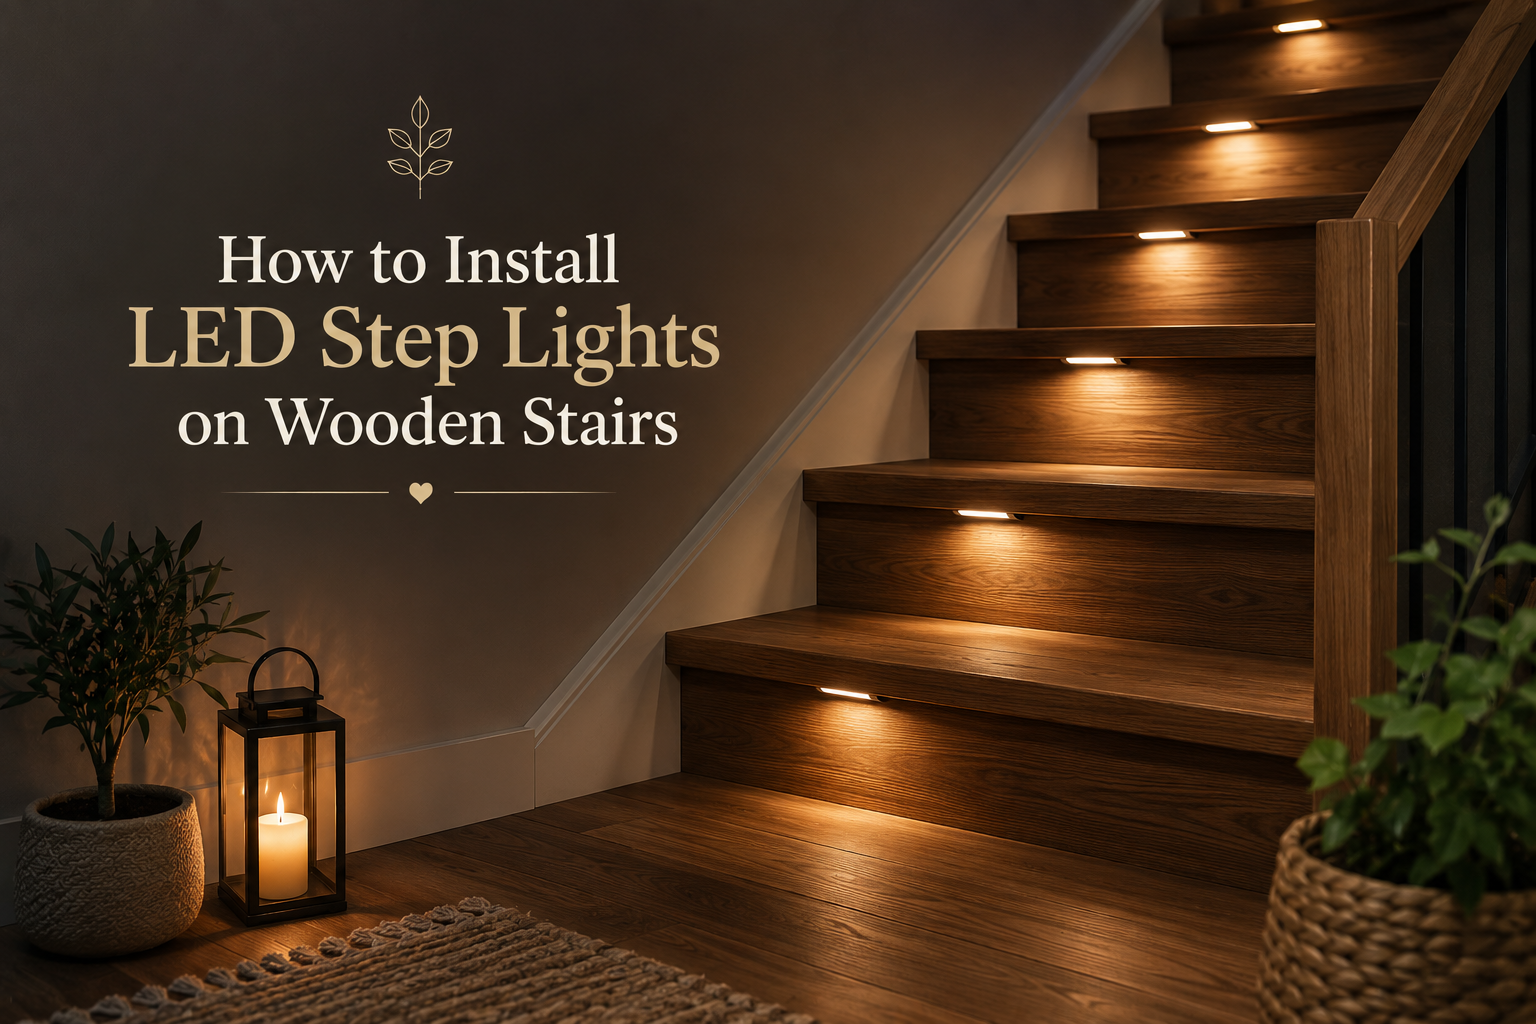
I added LED step lights to my own wooden staircase last winter, and the change was immediate. What used to be a dim, slightly risky walk down to the kitchen at night became a soft, guided glow underfoot. Beyond looks, stair lighting solves a real problem: poor visibility on treads causes many indoor falls. Here’s the exact process I followed, tailored for wood.
What You’ll Need
Wood mounts differently than tile or composite, so gather these first:
- Adhesive-backed LED strips (single color or addressable)
- A low-voltage transformer (12V or 24V)
- Aluminum mounting channel with diffuser cover
- Wire strippers and connector clips
- Drill, pencil, tape measure
- Optional motion sensor kit
Pick 24V over 12V for longer runs. Voltage drops over distance, and 24V holds brightness better across a full staircase.
Step 1: Measure and Plan
Measure each tread and riser separately. Older wooden stairs rarely have identical dimensions. Decide placement early: under the nosing, along the riser face, or recessed into the stringer. Mark spots with a pencil, keeping spacing even for a finished look.
Riser, Tread, or Stringer?
Wood gives you options tile and concrete don’t. Under-nosing mounting hides the fixture and throws light down onto the step below, the strongest choice for safety. Riser-face mounting creates a visible glow line, better for ambiance than function. Stringer routing gives the cleanest finish but takes more skill and time. I chose under-nosing on my own stairs since I have young kids, and safety mattered more than the accent look.
Step 2: Prep the Wood Surface
Clean and lightly sand the mounting area so the adhesive bonds properly. Raw or unsealed wood often resists standard 3M backing, so a primer strip or double-sided mounting tape works better in that case. Skipping this step is the main reason strips peel off within a few months.
Step 3: Mount the LED Strips
Cut the strip only at the marked cut lines to keep the circuit intact. Slide it into the aluminum channel, which manages heat and gives the install a finished, professional edge. Press the strip firmly along its full length rather than just at the ends, since wood expands and contracts with humidity and loose spots peel first. Secure the channel to wood with clips or screws for a hold that lasts longer than adhesive alone.
Step 4: Wire and Connect to Power
Connect strips in parallel using connector clips, or solder joints for a more permanent bond. Run wiring through a drilled hole or along the stringer to keep it out of sight. Switch off power before making any connections. Low-voltage systems are safe for DIY work, but full hardwiring into your home’s electrical panel should go to a licensed electrician.
Hiding Wires on Wooden Stairs
Route a shallow groove into the stringer or the underside of the tread to tuck wiring away completely. Existing trim or molding also works as a discreet channel if you’d rather not cut into the wood itself.]
Step 5: Test and Secure the Installation
Plug in the transformer and test every strip before final mounting. Catching a dead section now saves you from pulling the channel apart later. Check for even brightness across all steps. Dark patches usually mean spacing is off or the run has hit a voltage drop, both fixable before you lock everything in place. Once confirmed working, secure the channel permanently.
Tips for a Safer, Longer-Lasting Install
- Add a motion sensor for hands-free lighting at night
- Choose warm white (2700K-3000K) to complement wood tones; cool white can look clinical
- Keep single runs under 16-18 ft, or split power across two drivers
- Recheck adhesive grip each season, since wood shifts with humidity and can loosen strips over time
Final Thoughts
A well-lit staircase changes how a home feels after dark. It’s a small project with an outsized payoff: fewer missed steps, a calmer walk at night, and a staircase that finally looks intentional instead of overlooked. Once your lighting is in place, the next layer worth adding is scent.
A staircase or landing is often the first thing you notice entering a home, and a subtle fragrance there does for the nose what LED lighting does for the eyes. If you’re looking to round out that sensory experience, Lume & Wick’s home fragrance collection offers warm, considered scents built for exactly these transitional spaces.