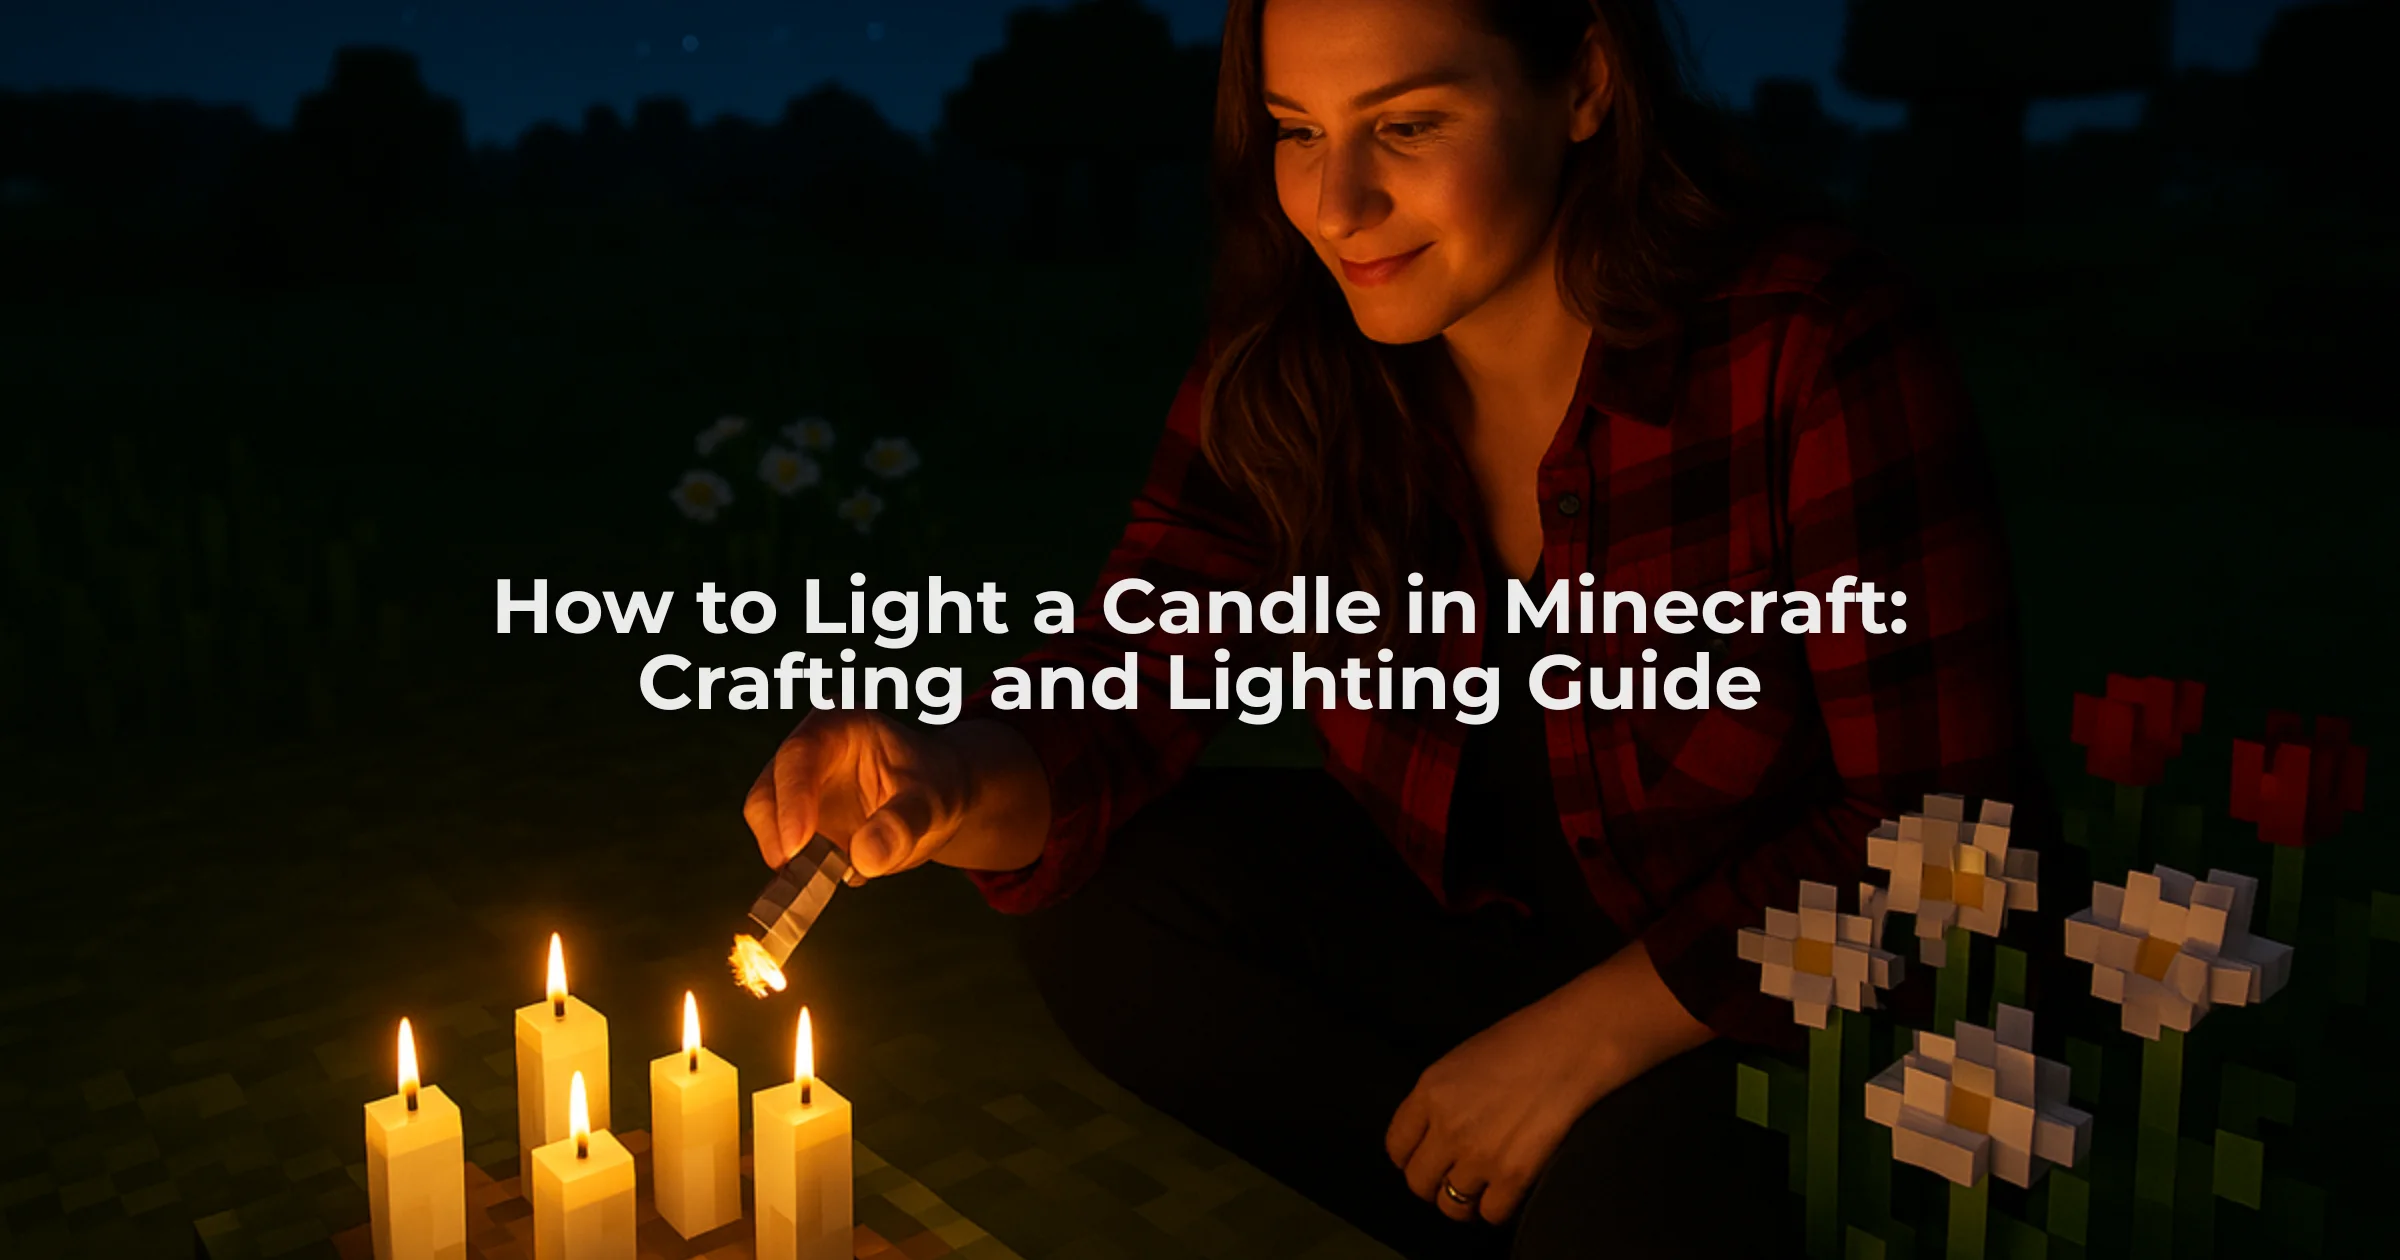
If you’re wondering how to light candles in Minecraft, simply place the candle on a solid block and use Flint and Steel or a Fire Charge to ignite it.
Candles in Minecraft are more than decorative; they create soft, ambient light that enhances the mood and realism of your builds.
Introduced in the Caves & Cliffs Update (1.17), they function as both a practical light source and a design element inspired by real wax-and-wick candles.
Crafted from honeycomb and string, candles reflect the connection between creativity and craftsmanship that defines the game.
When I first experimented with them, I was struck by how authentic their behavior felt. The flickering flame, subtle brightness shifts, and the ability to extinguish them with water closely mimic real-world candle physics.
Whether you’re lighting a medieval hall, adding warmth to a survival base, or setting the perfect glow on a birthday cake, understanding how to light and use candles brings both beauty and purpose to every build.
What You Need Before Lighting a Candle?
Before lighting a candle, ensure you have all the necessary items. You’ll need a candle block, a Flint and Steel, or a Fire Charge. Each serves as your ignition tool.
Candles can be crafted or found in creative mode, but they must be placed on a solid surface before lighting. Either can light a candle without a lighter; instead can use the above source.
Flint and Steel is the most straightforward option, created from one flint and one iron ingot. It’s reusable and behaves just like lighting a campfire.
Fire Charge, on the other hand, acts as a one-time lighter crafted from blaze powder, coal (or charcoal), and gunpowder. It’s ideal when you want an instantaneous light without keeping a tool.
Colored variants of candles also exist, crafted using different dyes. These add visual diversity and can match your theme: blue for ocean builds, red for rustic interiors, or white for elegant temples.
The subtle glow from these variations feels different from the bright, harsh torchlight, creating more artistic control in your lighting designs.
How to Craft a Candle in Minecraft?
Crafting a candle is a simple yet satisfying process that connects beautifully to real-world wax-making. Just as you’d melt beeswax and insert a wick to make a candle at home, in Minecraft, you combine one honeycomb with one string on the crafting table.
The honeycomb represents the wax, harvested from bee nests or beehives using shears. The string symbolizes the wick, obtained from spiders or cobwebs.
Once crafted, you can dye your candle using any available color dye. To do this, place the candle and the dye together on the crafting grid.
I remember crafting my first batch of teal candles for a coastal build, and the glow they gave off was incredibly soothing. The color tint affects how light blends with surrounding blocks, adding depth to interior design and ambience.
Each block can hold up to four candles, stacked together for a stronger glow. The more candles you place, the brighter the area becomes, reaching a maximum light level of 12.
It’s a smart mechanic that allows builders to control light intensity with precision, something decorators and survival players both appreciate.
How to Light a Candle in Minecraft?
Understanding how to light candles in minecraft becomes straightforward once you grasp how placement and interaction mechanics work together.
When I first tried it, I assumed it would work like placing a torch, but candles follow a slightly different logic.
They act as both decorative blocks and functional light sources, so each step plays a role in activating them correctly.
1. Place the Candle
Start by positioning the candle on a valid surface. It must sit on a solid block such as stone, wood, or any full block that supports placement. You can also place it on top of a cake, which is a unique interaction feature that adds visual appeal to builds.
From experience, placement accuracy matters. If the block below is not stable or interactive, the candle will not sit correctly. Think of it as anchoring the object before activating it. This step defines whether the candle can function as a light-emitting element later.
2. Select Lighting Tool
Next, choose a proper ignition source. The two reliable options are Flint and Steel or a Fire Charge. Both tools trigger the same ignition behavior, but Flint and Steel is more commonly used due to easier crafting and durability.
When I first experimented, I tried interacting without a tool and nothing happened. Candles require an external ignition source, similar to how fire mechanics work in the game. This interaction mirrors real-world combustion logic, where a spark or flame initiates burning.
3. Ignite the Candle
With the tool selected, interact directly with the candle. On Java Edition, right-click the candle. On Bedrock Edition, tap the screen or use the interaction button depending on your device.
Precision helps here. Aim directly at the candle block to trigger the ignition. Once activated, the game registers the interaction and applies a lit state to the object. This state change transforms the candle from a static decorative item into an active light source.
4. Confirm It’s Lit
After ignition, check for visual and functional indicators. A small flame appears on top of the candle, and the surrounding area gains a soft glow. This light emission confirms that the candle is active.
The flickering effect adds realism and depth to interiors. Compared to torches, candles produce a subtler ambience, which works well in enclosed builds or themed environments. When I started using multiple candles together, the layered lighting created a more natural atmosphere than standard light blocks.
By following these steps, you not only learn how to light a candle in Minecraft but also understand the underlying interaction system that controls block behavior and lighting mechanics.
Lighting Candles on Cakes
One of the most delightful features of Minecraft’s candle system is the ability to place a candle on a cake. It’s a small detail, but it mirrors real celebrations beautifully.
Simply right-click on a cake block while holding a candle, and it will sit neatly on top. Once placed, use Flint and Steel to ignite it. You’ll see a single flame flicker on the cake, symbolizing a birthday or festive occasion.
This feature doesn’t change gameplay mechanics, but it adds a layer of storytelling to your builds. I’ve used it in community worlds to mark milestones; lighting a candle on a shared cake after completing a major project feels genuinely symbolic.
It’s these subtle touches that connect the digital craft to real-world emotions, where lighting a candle often represents warmth, memory, or gratitude.
Conclusion
Learning how to light a candle in Minecraft opens a subtle but powerful dimension of creativity. It’s not just about illumination; it’s about atmosphere, symbolism, and the joy of crafting something handmade even in a digital world.
From mixing dyes to positioning candles on cakes, each step reflects care and intention.
As someone deeply familiar with real wax work, I can say that Minecraft captures the spirit of candle making remarkably well.
The honeycomb and string combination pays homage to beeswax’s natural purity, and the lighting process echoes real-world patience and precision.
If you love the beauty of candlelight in-game, try bringing that charm into your real space. Hand-poured candles from Lume & Wick offer the same warmth, color depth, and natural scent that make candlelight magical.