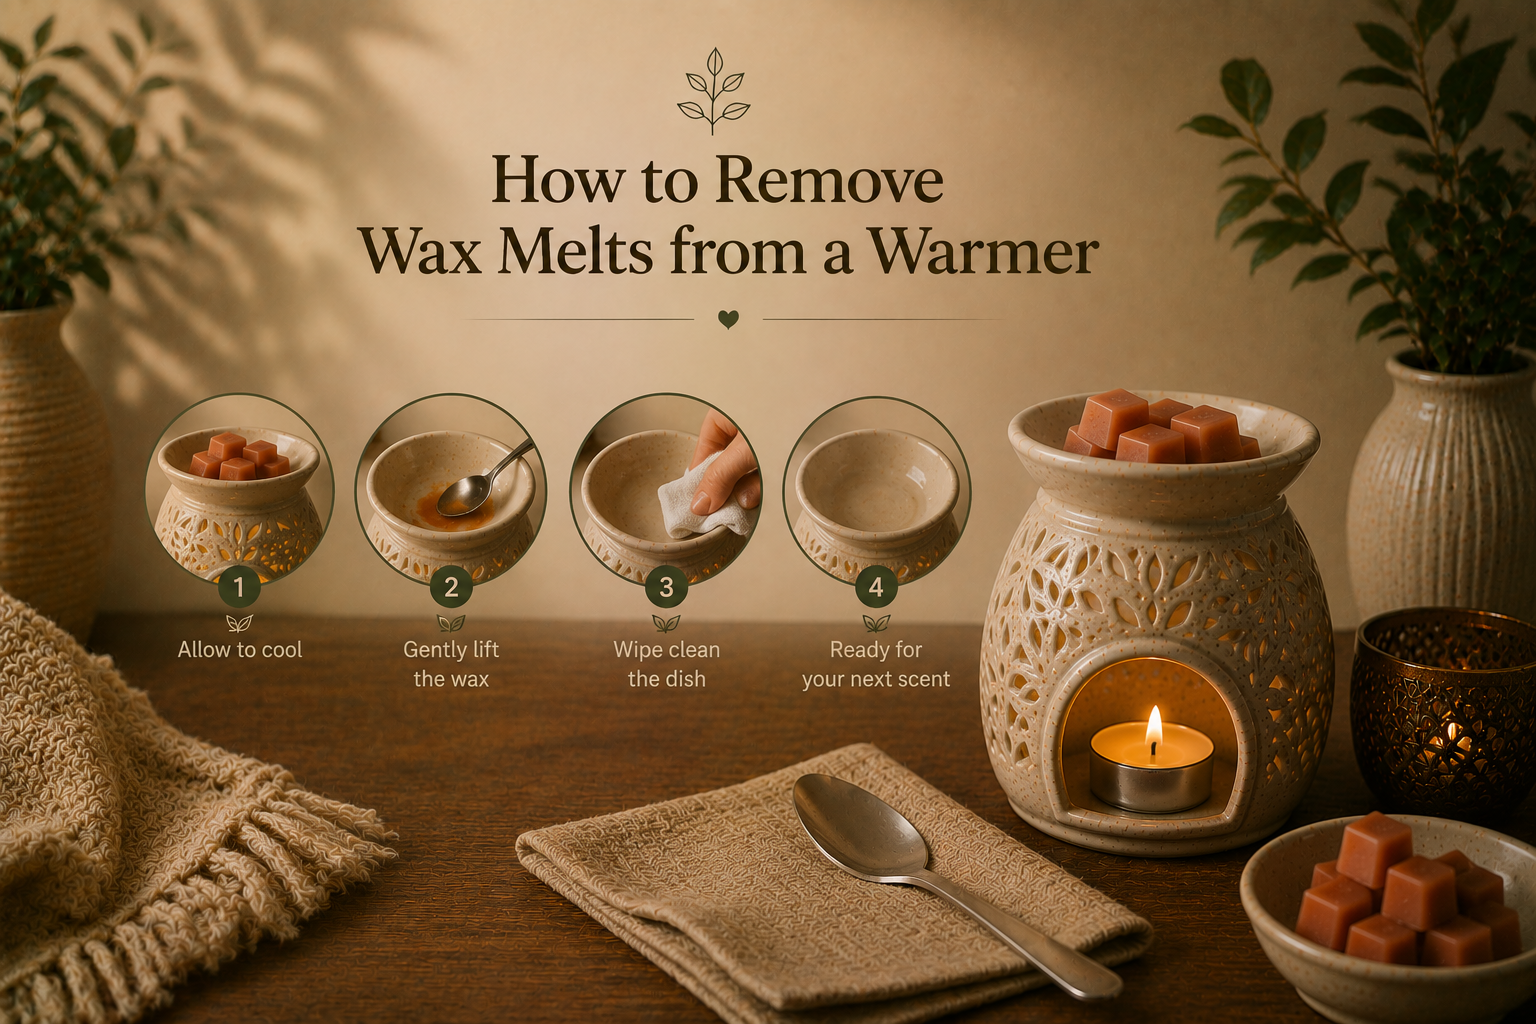
Removing old wax melts from a warmer is an important part of wax warmer maintenance. Once a wax melt loses its scent throw, leaving it in the warmer can lead to fragrance mixing, wax residue buildup, and reduced performance from your home fragrance system.
I learned this after repeatedly adding new scented wax on top of old wax. The fragrance became weaker, and cleaning the wax warmer took more effort than necessary. Since then, I have followed a simple wax change procedure that keeps my warmer clean and my fragrances smelling as intended.
Whether you use soy wax melts, paraffin wax melts, or coconut soy wax blends, proper wax melt removal helps improve fragrance quality, supports wax warmer hygiene, and makes scent transitions much cleaner.
Turn Off the Warmer and Let the Wax Cool Slightly
Start by turning off the electric wax warmer or tea light wax warmer. Allow the melted wax to cool for a few minutes until it is warm but not hot. For related tips, see how long wax melts last in a warmer.
Avoid handling freshly melted wax because it can cause burns and increase the risk of a wax spill. At the same time, do not wait until the wax becomes completely solid. Slightly cooled wax is usually easier to remove and creates a safer wax extraction method. For related tips, see wax melt safety for dogs and cats.
This simple step supports wax warmer safety and prepares the wax for easier cleanup.
Use the Cotton Ball or Paper Towel Method for Soft Wax
For warm wax removal, the cotton ball method is one of the easiest solutions. Place a cotton ball, cotton pad, or folded paper towel into the melt pool and allow it to absorb the liquid wax and fragrance oils.
Once the wax has been absorbed, carefully remove and discard the material. This approach works best when the wax remains soft and warm.
I use this method most often because it provides quick cleanup with very little mess. It also helps with fragrance wax cleanup by removing most fragrance oil residue before adding a new scent.
Regular use of this technique reduces wax residue, supports wax melt maintenance, and makes scented wax replacement much easier.
Remove Hardened Wax Using the Freezer Method
If the wax has already hardened, the freezer method is one of the easiest ways to remove it. Place the removable wax dish or wax warmer tray in the freezer for about 15 to 30 minutes.
As the frozen wax contracts, it separates from the surface and often comes out as a single wax puck. Simply turn the dish over and gently press the bottom until the wax releases.
I use this method whenever I forget to remove wax after a fragrance session. It works well with soy wax, paraffin wax, and most fragrance wax blends. The process creates residue-free removal and eliminates the need for scraping.
Reheat the Wax Briefly and Slide It Out
If your wax warmer does not have a removable tray, briefly reheating the wax can help. Turn the warmer on for one or two minutes until the edges begin to loosen.
Once the wax separates slightly from the wax warmer dish, switch off the warmer and carefully slide the solid wax out.
This heat-assisted removal technique works well for hardened wax that is difficult to remove by hand. Avoid overheating, as fully melted wax can become messier to handle and dispose of.
Never pour melted wax into a sink or drain. Wax can harden inside pipes and cause blockages.
Clean Remaining Wax Residue from the Warmer
After removing the wax, inspect the warmer for any remaining wax residue or fragrance oil residue. A soft cleaning cloth or paper towel is usually enough to wipe away leftover residue.
If needed, use warm water cleaning on removable components according to the manufacturer’s instructions. This step helps with residual scent removal and prepares the warmer for a new fragrance.
Regular wax warmer cleaning prevents residue buildup, improves scent quality, and keeps your warmer looking its best. If you frequently switch fragrances, this simple cleaning routine can make a noticeable difference in overall fragrance performance.
Dispose of Used Wax Properly
Once the wax has been removed, dispose of it responsibly. Allow any melted wax to cool and solidify before placing it in the trash. This is the safest method for melted wax disposal and helps prevent unnecessary mess.
Avoid pouring wax into sinks, toilets, or outdoor drains. Even small amounts can harden and create plumbing issues. Proper wax melt handling and safe disposal keep cleanup simple and protect household systems.
If you use reusable wax melts or silicone wax liners, follow the manufacturer’s recommendations for removal and disposal. These accessories often make cleanup faster and reduce waste.
How Often Should You Remove Old Wax Melts?
A wax melt should be removed once it no longer produces a noticeable fragrance. The wax itself does not evaporate like a candle. Instead, the fragrance oils gradually dissipate, leaving behind unscented wax.
Signs that it is time for wax replacement include weaker scent throw, little to no aroma diffusion, or a change in fragrance quality. Frequent wax replacement keeps your home fragrance product performing at its best and helps avoid unwanted scent mixing.
In my experience, replacing wax as soon as the fragrance fades provides a cleaner scent experience and reduces long-term residue accumulation inside the warmer.
Conclusion
Learning how to remove wax melts from a warmer is simple once you know the right technique. The cotton ball method works well for warm wax, the freezer method helps remove hardened wax, and brief reheating can loosen stubborn wax when needed.
Regular wax warmer cleaning, proper disposal, and timely wax melt replacement help maintain better fragrance performance and a cleaner warmer. A few minutes of maintenance can improve scent quality, reduce residue buildup, and make every fragrance change easier. For a closer look, read why a wax melt is not smelling.
If you’re looking to elevate your home fragrance experience, pairing a clean warmer with high-quality wax melts makes a noticeable difference. Premium fragrances from Lume & Wick can help you enjoy cleaner scent transitions, stronger aroma performance, and a more enjoyable home fragrance routine. Related reading: how many wax melt cubes to use.