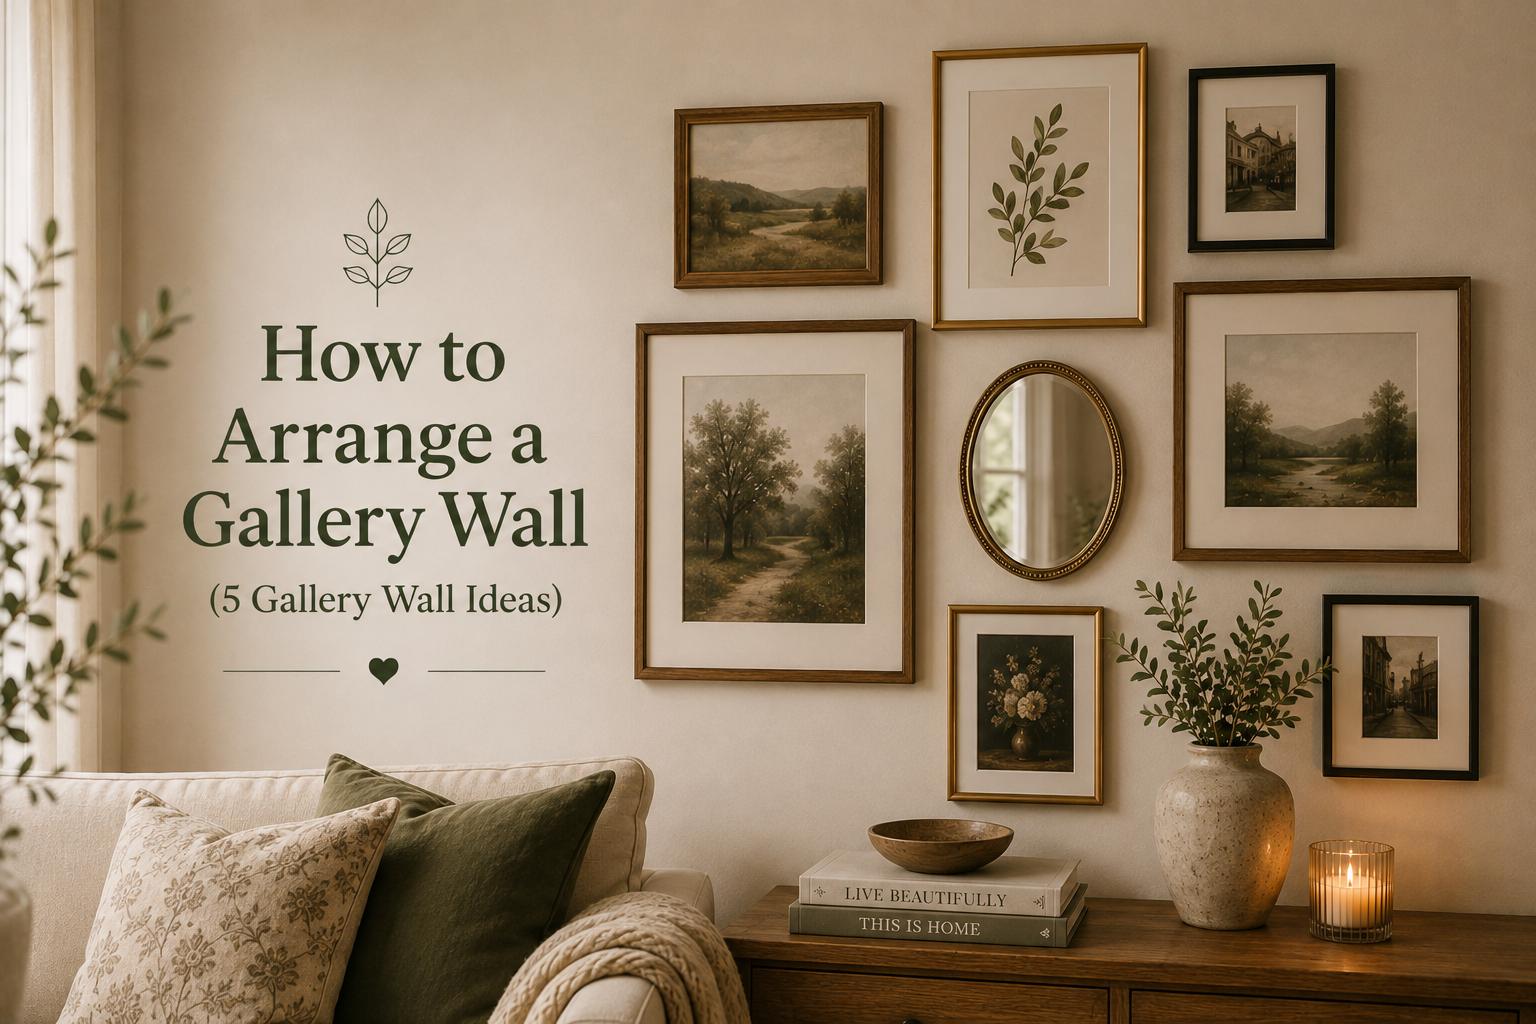
A gallery wall groups framed prints and photos into one arranged composition. Done well, it turns blank drywall into a room’s focal point. I have hung dozens across my own home and for friends, and two issues trip up almost everyone: uneven frame spacing and weak balance.
This guide solves both. You will plan the layout, set the correct height, then hang each piece with confidence. Expect no guesswork and no surface riddled with extra nail holes.
How to Arrange a Gallery Wall
Arranging a gallery wall follows a clear sequence. Choose the layout, curate your pieces, plan the placement, set the height, then hang and fine-tune. Work through each step in order.
Choose Your Wall and Measure the Space
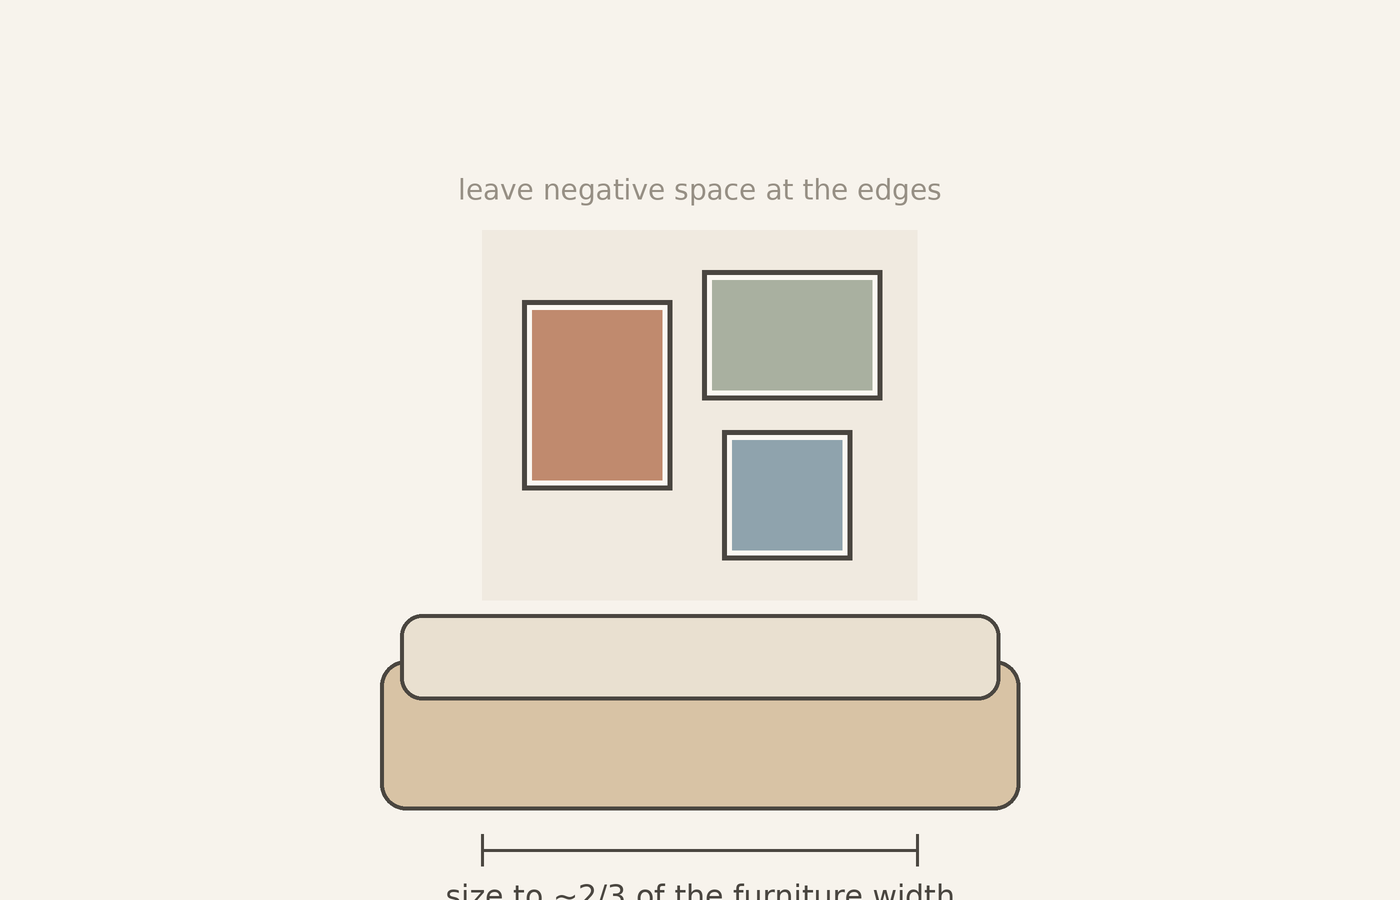
Start with the wall itself. Strong spots sit above a sofa, console, bed, or along a staircase run. Measure the furniture below, then size your composition to roughly two thirds of that width. This keeps the display anchored to the room. Leave negative space around the edges as intentional breathing room, so the grouping reads as deliberate rather than cramped. Check the wall art size guide to scale each frame to the wall.
Pick a Layout Style: Grid or Salon-Style
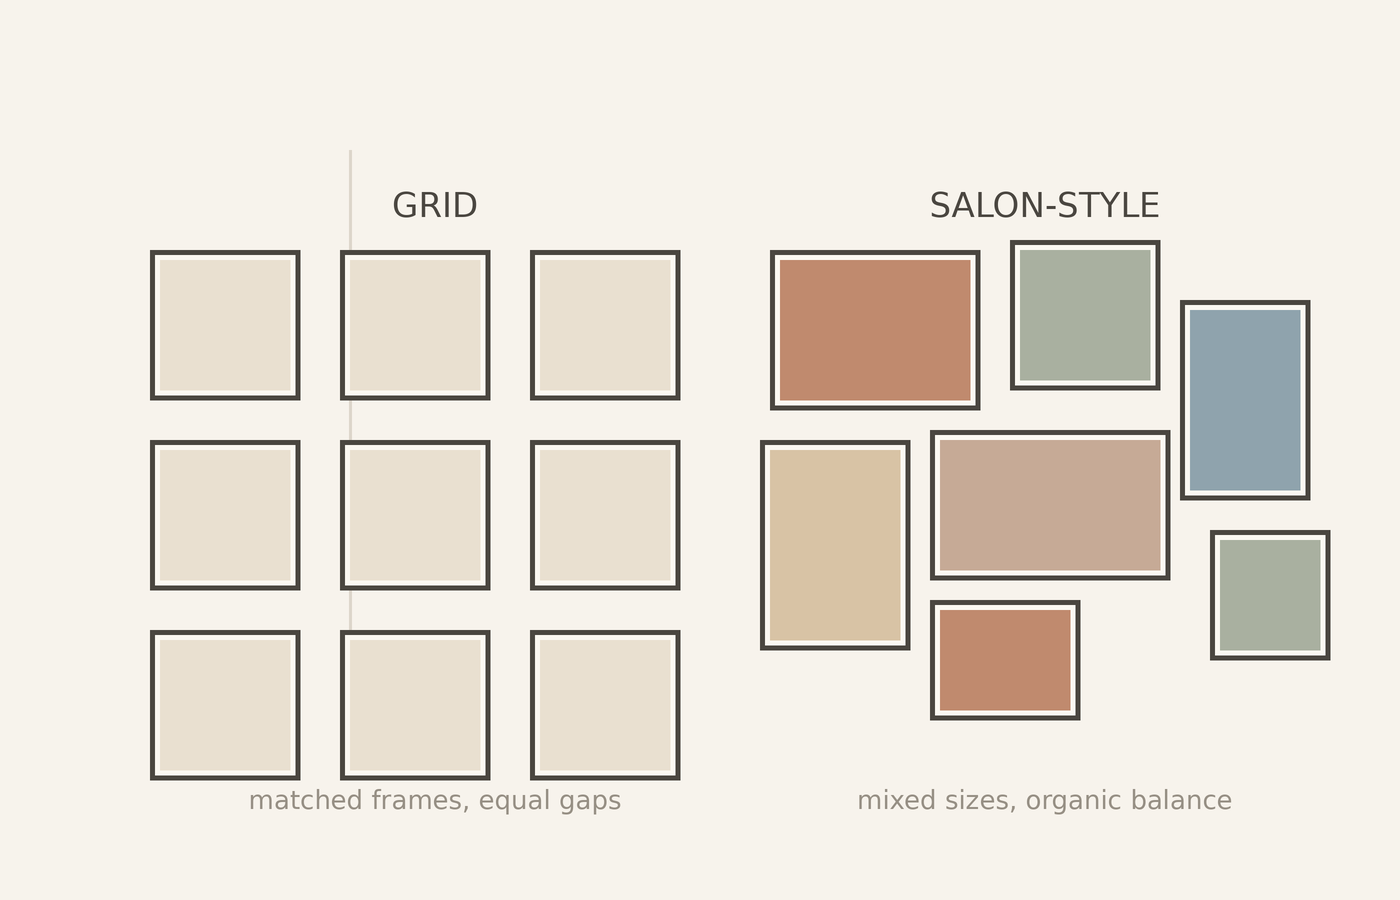
Two approaches shape every gallery wall. A grid layout uses matching frames and equal gaps for a clean, symmetrical arrangement. Salon-style mixes sizes and finishes around a center, giving a relaxed, collected look. Decide this first, because it drives every later choice. Grids suit modern rooms, while an asymmetrical arrangement rewards collectors who love variety. Grid or salon-style often comes down to minimalist vs maximalist decor.
Curate Your Art and Palette
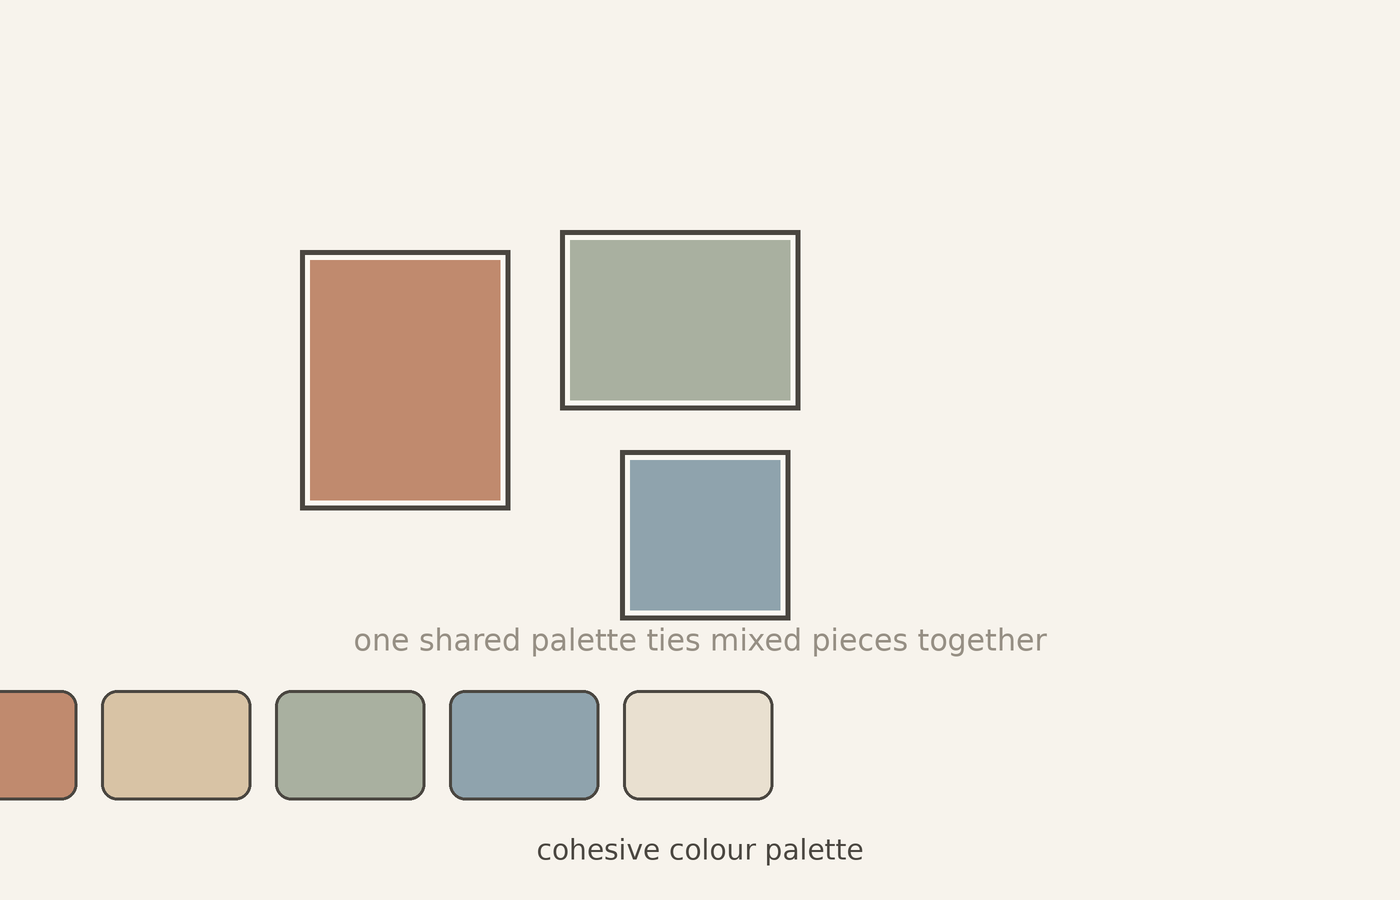
Cohesion holds the whole display together. Pick pieces that share a cohesive color palette, a repeated subject, or consistent matting. That common thread lets you mix a photo, a print, and a woven textile without visual chaos. Group in odd numbers, which the eye reads as more natural. Balance visual weight as well, since a dark or busy piece pulls more attention than a pale one. For depth, mix in textured wall decor ideas alongside framed pieces.
Plan the Layout Before You Hang
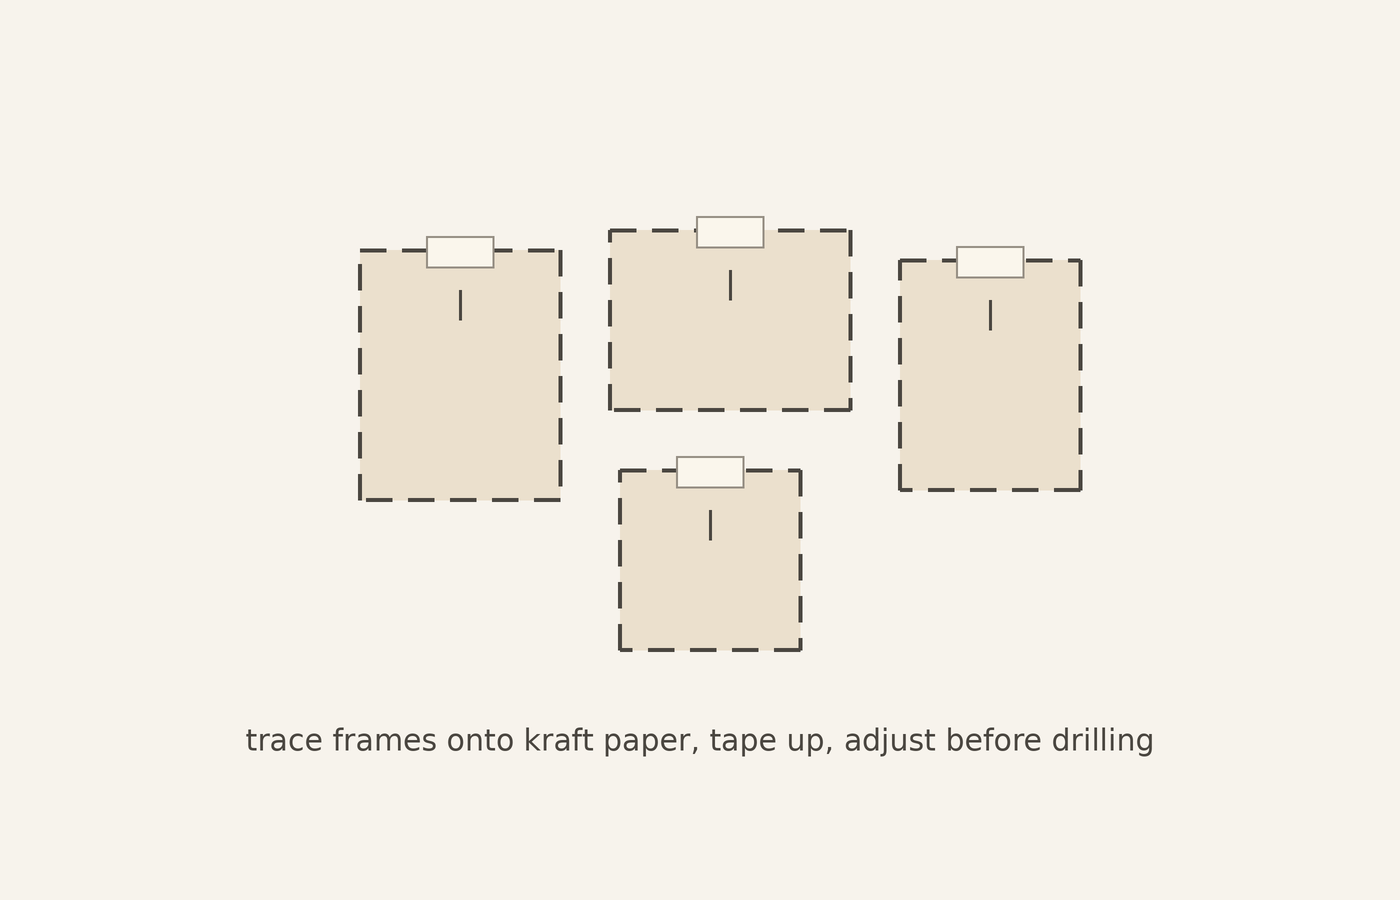
Never drill first. Lay the frames on the floor and rearrange until the visual balance feels right. Better still, trace each frame onto kraft paper, cut the templates, then tape them to the wall. Paper templates let you preview positions and adjust spacing without a single hole. This one habit has rescued my walls more times than I can count.
Set Your Center Line and Anchor Piece
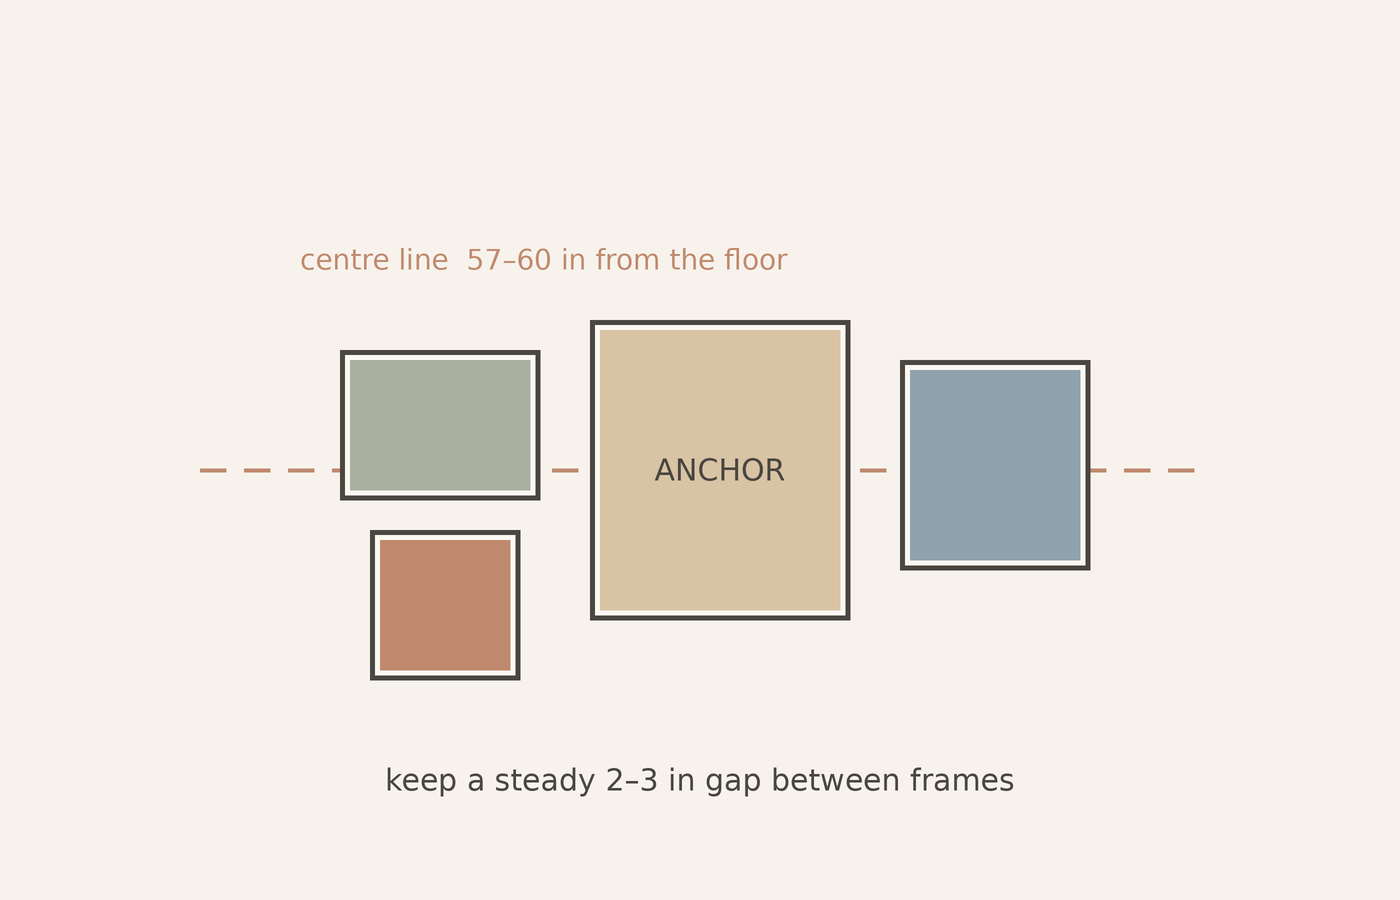
Hang the largest piece first as the anchor, then build outward around it. Center the whole grouping on a line 57 to 60 inches from the floor, the standard gallery eye level. Keep a steady two to three inch gap between frames. Consistent frame spacing reads as polished, while uneven gaps make even beautiful art look accidental.
Hang, Level, and Adjust
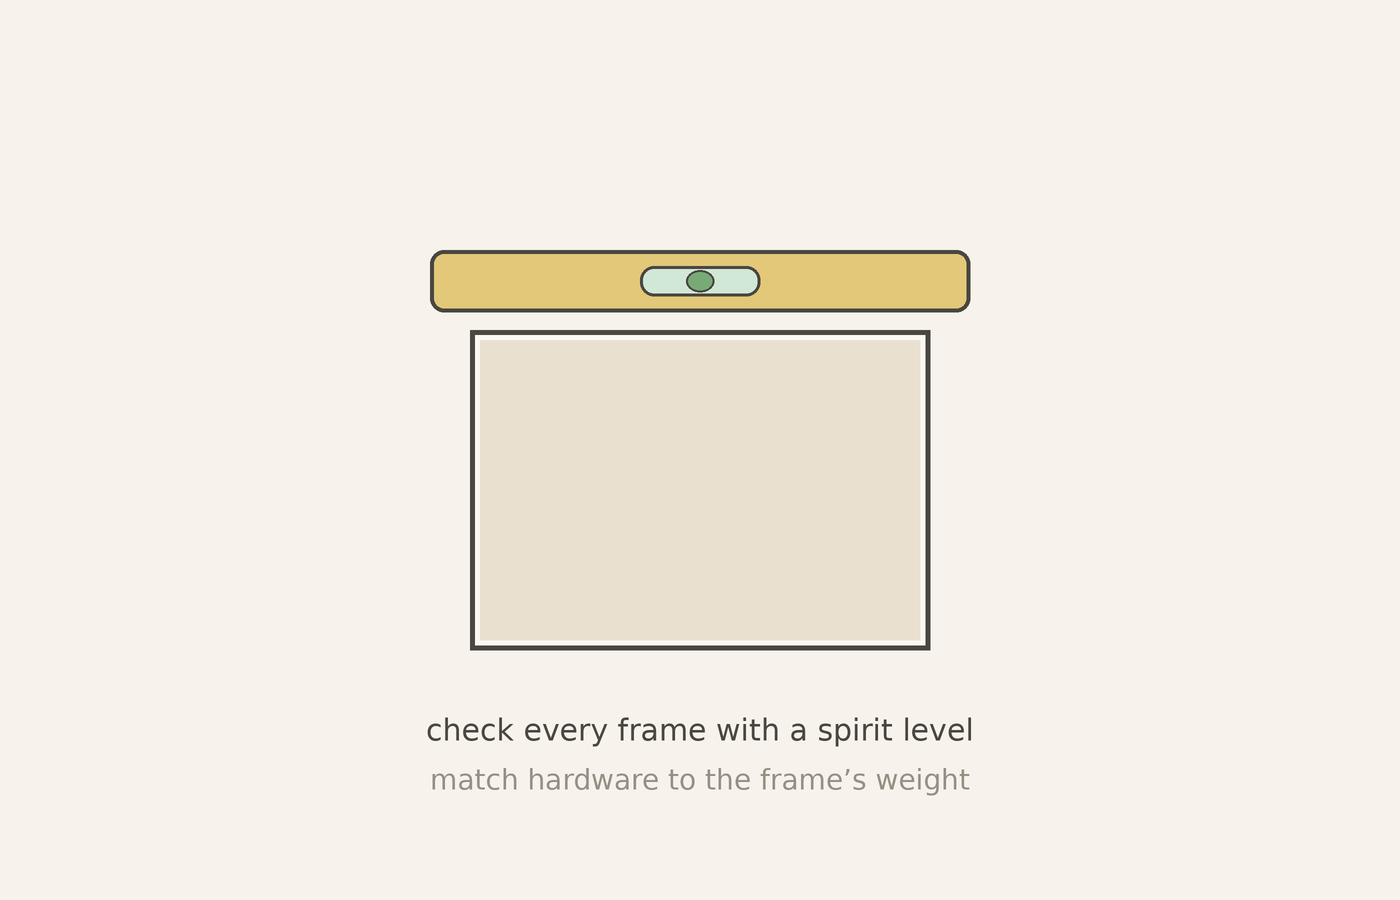
Match your hanging hardware to each frame’s weight. Light frames take simple hooks. Heavier framed glass needs D-rings with wall anchors, or a screw driven into a stud. Check every piece with a spirit level as you go. Step back often, then nudge frames until the lines feel true. Treat the result as living, because you can swap art anytime.
5 Gallery Wall Ideas
Need inspiration? These five layouts each create a different mood.
1. The Symmetrical Grid
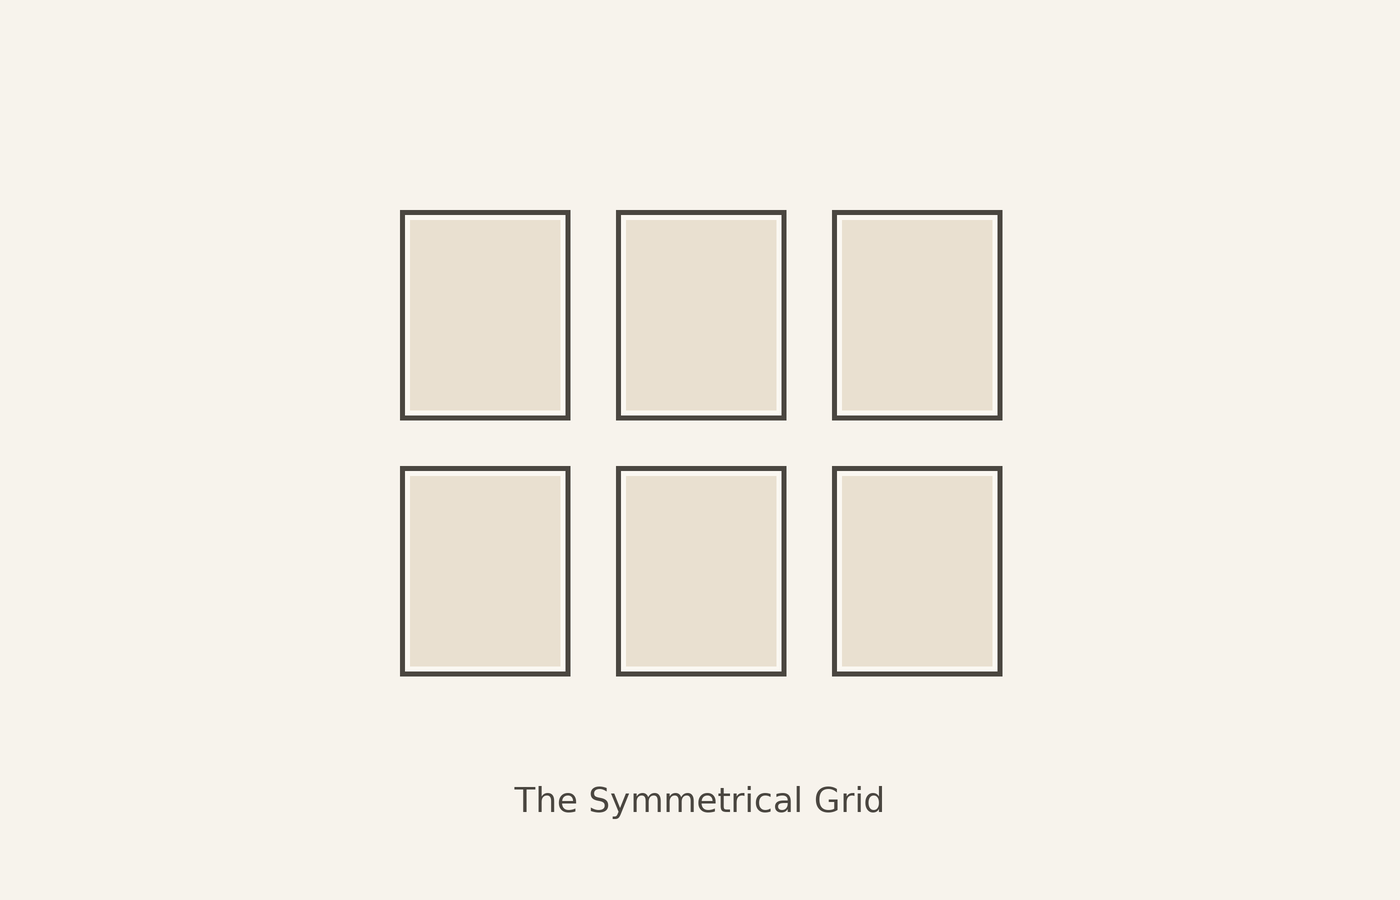
Identical frames sit in even rows and columns. This tidy format suits a photo series or botanical prints, and it fits modern interiors beautifully. Equal mats and matched gaps do the heavy lifting. Keep every space uniform, and the grid delivers instant order.
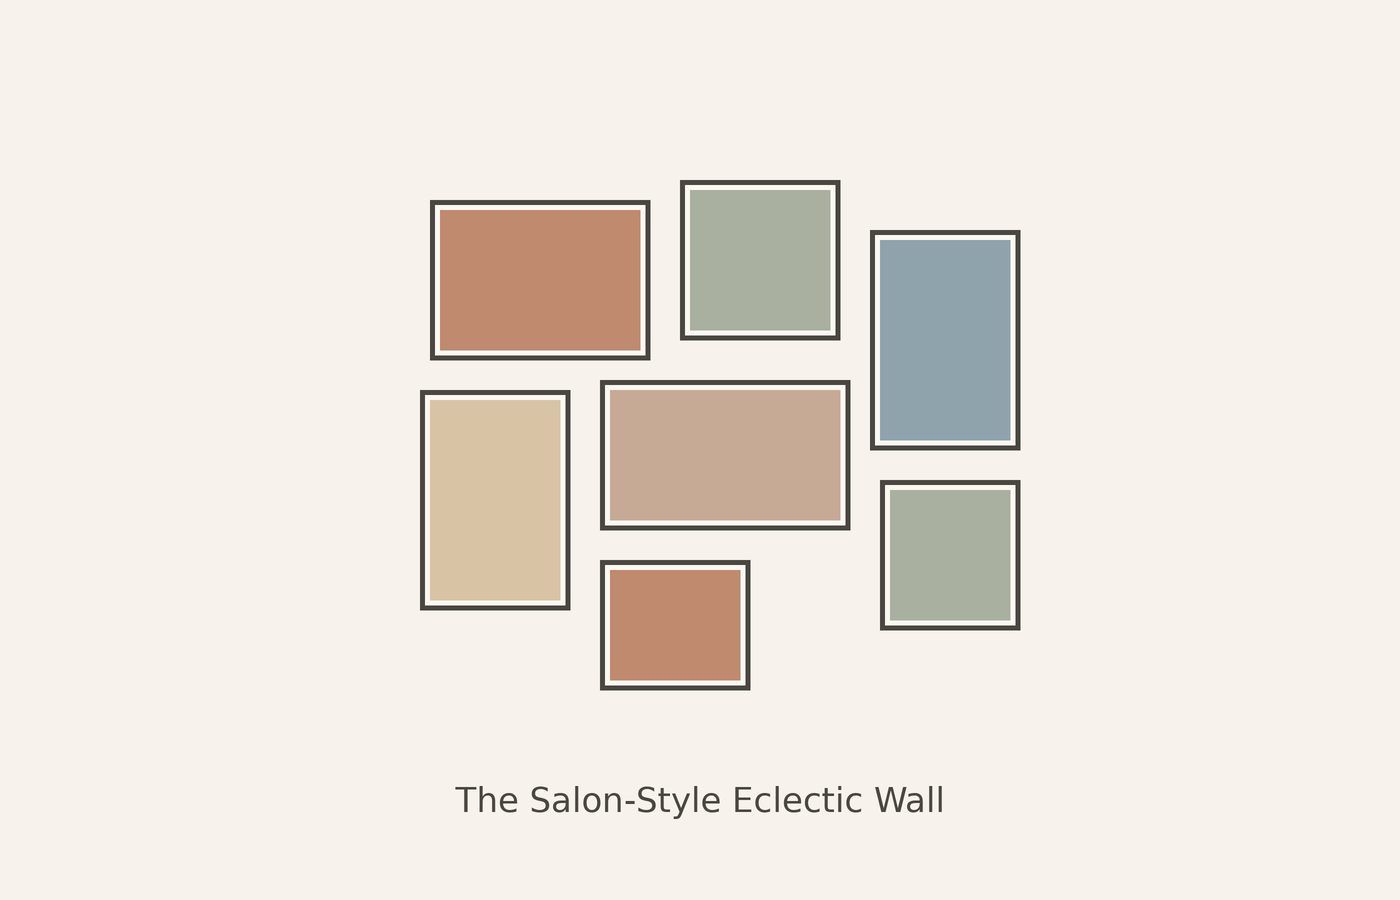
2. The Salon-Style Eclectic Wall
A dense cluster of mixed sizes and orientations gathers around one central anchor. Collectors and maximalists love this personal display. Blend finishes freely, from black metal to warm oak. Hold the outer edges to a rough rectangle, and the busy mix still feels contained rather than scattered.
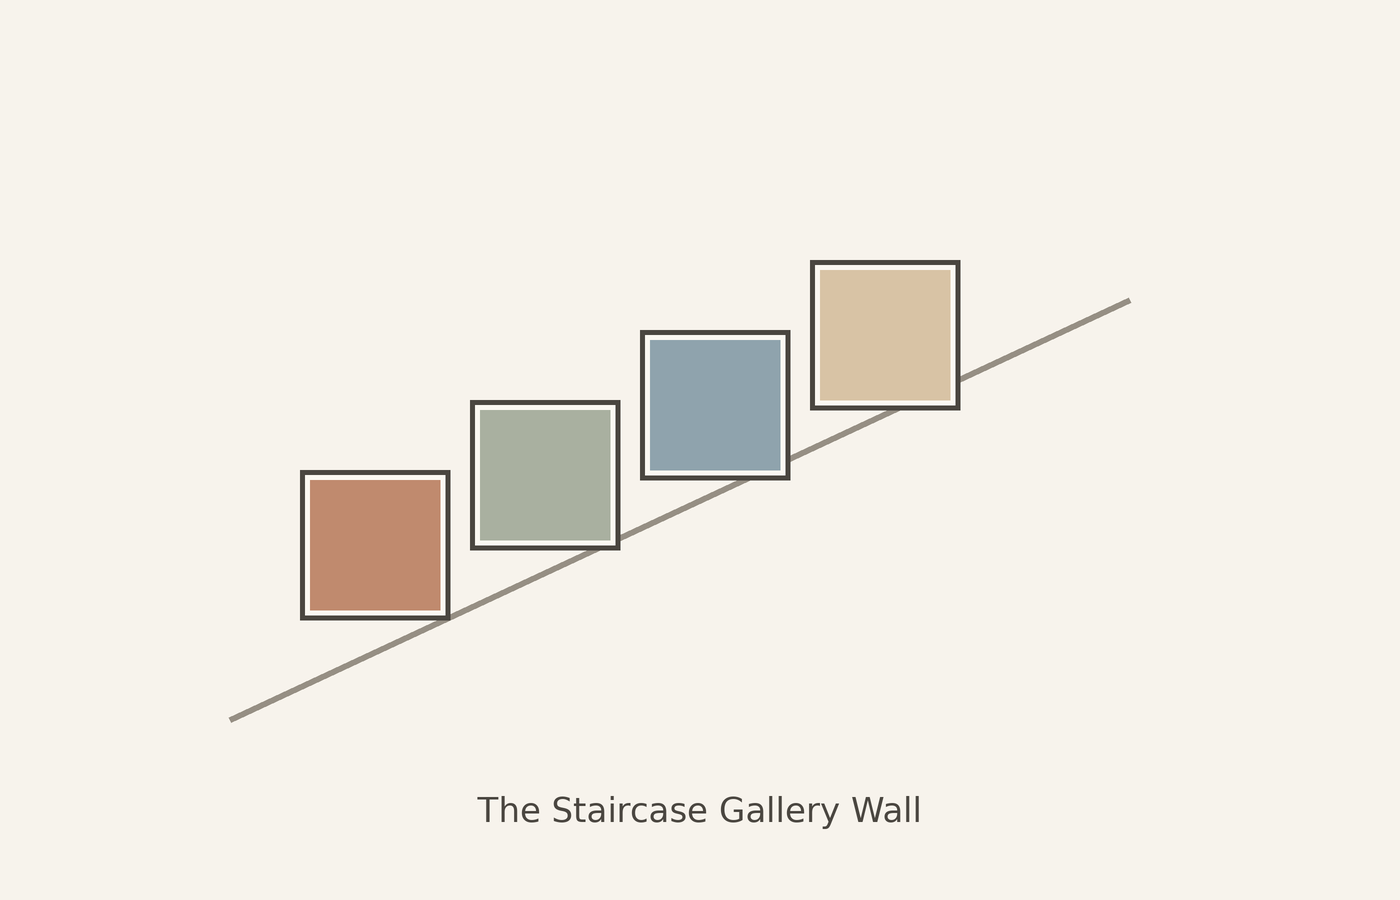
3. The Staircase Gallery Wall
Stepped frames trace the diagonal of the stairs. A staircase gallery wall turns dead transit space into a moment worth pausing on. Keep each piece a consistent distance from the handrail. Align to the stair angle rather than the floor, and the whole run flows.
4. The Ledge Shelf Display
Picture ledges let you rest and layer art instead of hanging it. Renters and restless decorators like me love the freedom to rearrange in seconds. Overlap larger works behind smaller ones for depth. Swap seasonal pieces whenever the mood shifts, with zero new holes. Ledge displays borrow ideas from how to style open shelving.
5. The Statement Pairing
Two or three oversized prints in a simple row make a bold, quiet impact. This pared-back idea suits small collections and calm rooms. Match the frames so the statement art leads, not the framing. Sometimes restraint speaks louder than a crowded arrangement. A statement pair also looks great above a fireplace; see these mantel decor ideas.
Conclusion
A gallery wall rewards planning far more than luck. Choose your layout, curate with intention, preview on paper, set a true center line, then hang and adjust. The display stays flexible forever, so start today and refine as you live with it. When you are ready to fill those frames and finish the scene, explore the framed art, candles, and warm lighting at Lume & Wick. The right pieces turn a good gallery wall into the heart of your home.