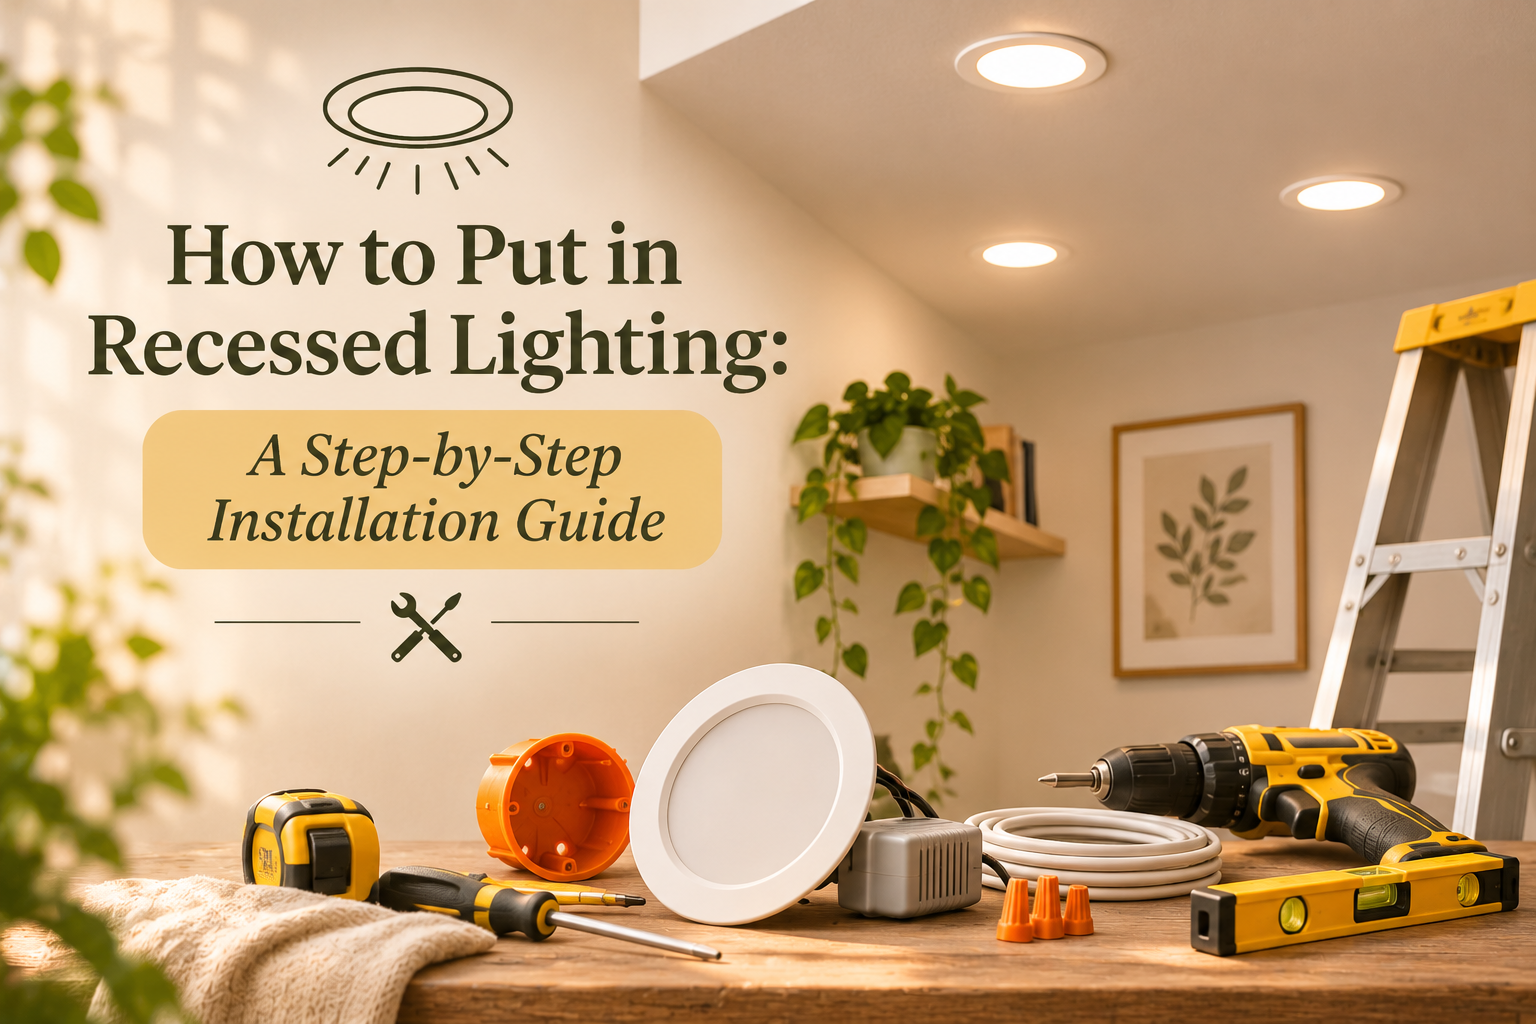
To put in recessed lighting, choose compatible fixtures, plan their placement, turn off the power, prepare ceiling openings, and install the lights according to the manufacturer’s instructions. Once the electrical connections and fixtures are safely secured, restore power and test each light to ensure it works properly.
Recessed lighting, also called can lights or downlights, creates a clean ceiling appearance without bulky fixtures. Installing LED recessed lights requires careful measurements, suitable electrical connections, and the right mounting hardware. Here’s how to approach the process, especially when adding lights to an existing ceiling.
1. Choose the Right Recessed Lighting Fixtures
Start by selecting recessed light fixtures that match your ceiling type and installation requirements.
The main options include:
- Canless LED recessed lights: Thin wafer-style fixtures with separate junction boxes. They work well for many existing-ceiling installations.
- Traditional recessed lights: Use a housing or metal can installed inside the ceiling cavity.
- IC-rated fixtures: Designed for direct contact with insulation when the manufacturer’s specifications permit it.
- Dimmable LED lights: Allow brightness adjustments when paired with compatible dimmer switches.
Check the fixture’s cutout diameter, lumen output, color temperature, and dimmer compatibility before purchasing. Warm white lighting around 2700K to 3000K works well in living spaces.
2. Gather the Tools and Materials Needed
Prepare the necessary equipment before starting. Having everything ready makes the installation process more organized.
Tools and materials:
- LED recessed light fixtures
- Measuring tape and pencil
- Drill and appropriately sized hole saw
- Drywall saw
- Voltage tester
- Wire strippers
- Approved wire connectors
- Screwdriver
- Safety glasses
- Ladder
Some installations may require additional mounting hardware or electrical materials depending on the fixture design and existing wiring.
3. Plan the Recessed Lighting Layout
Proper placement helps distribute light evenly and prevents dark spots.
Begin by measuring the room’s length, width, and ceiling height. Decide how many recessed lights the space needs based on its size, lighting requirements, and fixture brightness.
Mark the proposed fixture positions on the ceiling. Consider these factors:
- Ceiling joists: Locate structural supports before marking cutouts. Avoid cutting through joists.
- Light spacing: Consider ceiling height, beam angle, and lumen output when positioning fixtures.
- Wall distance: Position lights to provide balanced illumination without creating unwanted shadows.
- Obstructions: Check for electrical cables, plumbing pipes, and insulation inside the ceiling cavity.
A well-planned recessed lighting layout provides more consistent illumination than simply placing fixtures at equal distances.
4. Turn Off the Power and Prepare the Ceiling
Electrical safety comes before any cutting or wiring.
Switch off the relevant circuit breaker at the electrical panel. Use an appropriate voltage tester to confirm that the circuit is de-energized. Never rely solely on the wall switch.
Next, use the manufacturer’s cutout template to mark the fixture openings. Before cutting, inspect the ceiling cavity for joists, electrical wiring, plumbing, and other obstructions.
Use a suitable hole saw or drywall saw to create the openings. Keep the holes within the fixture manufacturer’s specified dimensions. An oversized opening can prevent mounting clips from securing the light properly.
5. Install the Recessed Lighting Fixtures
This is the main installation stage. Follow the manufacturer’s instructions because canless LED fixtures and traditional recessed housings use different mounting methods.
Step 1: Prepare the Electrical Connections
Locate the fixture’s junction box and identify its wiring terminals. Typical electrical connections include:
- Hot wire: Carries electrical current to the fixture.
- Neutral wire: Completes the electrical circuit.
- Ground wire: Provides a protective path for fault current.
Use approved connectors and follow the fixture’s wiring diagram. Keep all connections inside the approved, accessible junction box with its cover securely installed.
Step 2: Connect the Recessed Light
For canless LED fixtures, connect the fixture cable or plug to its compatible junction box connector. Secure the cable according to the manufacturer’s instructions.
For traditional recessed lighting, the wiring connects to the fixture housing’s junction box. Ensure the wiring remains protected and properly enclosed.
Step 3: Secure the Fixture in the Ceiling
Carefully insert the light into the ceiling opening.
Most canless LED lights use spring clips or mounting clips that hold the fixture against the drywall. Push the fixture into position until the clips engage securely.
Traditional recessed housings require appropriate mounting brackets or support frames. Check that the housing sits firmly and that the finished trim aligns properly with the ceiling.
Safety note: Electrical connections should only be performed by someone qualified and legally permitted to do the work. New wiring, circuit modifications, or unfamiliar electrical connections should be handled by a licensed electrician.
6. Restore Power and Test the Recessed Lights
Before restoring electricity, check that all junction box covers are secured, fixtures are properly mounted, and no wiring remains exposed.
Once the installation is complete and safe, restore power at the circuit breaker. Switch on each light and check for proper illumination.
If you have installed dimmable LED fixtures, test the dimmer switch to confirm compatibility. Watch for flickering, unusual noises, or inconsistent brightness. Switch off the circuit and contact an electrician if you notice anything abnormal.
Common Mistakes to Avoid When Installing Recessed Lighting
Avoid these common installation mistakes:
- Ignoring insulation compatibility: Choose IC-rated fixtures when direct insulation contact is required and permitted.
- Cutting without inspection: Check for ceiling joists, plumbing, and electrical cables before creating openings.
- Incorrect cutout sizes: Follow the manufacturer’s measurements to ensure proper fixture support.
- Poor light placement: Consider beam angles and ceiling height to prevent uneven illumination.
- Incompatible dimmers: Check LED and dimmer compatibility before installation.
- Unsafe wiring: Never leave electrical connections exposed or outside approved enclosures.
Careful preparation helps prevent installation problems and improves the finished lighting result.
Conclusion
Installing recessed lighting requires proper planning, compatible fixtures, and careful attention to electrical safety. From measuring ceiling openings to securing LED fixtures, each step contributes to reliable and balanced illumination.
Once installation is complete, consider how the new lights work with your room’s overall lighting arrangement. Explore Lume & Wick for thoughtfully selected home lighting options that help create a comfortable, well-lit living space.
Frequently Asked Questions
Can you install recessed lighting in an existing ceiling?
Yes. Canless LED fixtures and retrofit recessed lights are designed for many existing-ceiling installations. Check the ceiling cavity for obstructions and confirm fixture compatibility before cutting.
How far apart should recessed lights be installed?
Spacing depends on ceiling height, beam angle, fixture brightness, and room layout. Follow the manufacturer’s lighting recommendations rather than relying on one universal measurement.
Do you need an electrician to install recessed lighting?
Requirements vary by location and installation complexity. New wiring, circuit modifications, and electrical connections should be handled by a qualified electrician in accordance with local codes.
Can recessed lights be installed without a can?
Yes. Canless LED wafer lights use compact junction boxes instead of traditional recessed housings. Their slim design makes them suitable for many retrofit applications.