The first time I tried incense cones, I expected a mild fragrance similar to incense sticks. What I experienced instead was a richer, deeper aroma that filled the entire room within minutes. That moment helped me understand that using incense cones is not just about lighting something and letting it burn. It is about understanding the incense cones burning process, the way scent spreads, and how small details like airflow and placement can change the entire experience.
If you are searching for how to use incense cones, you are likely looking for a simple, safe, and effective way to enjoy fragrance at home. This guide focuses exactly on that. It combines practical steps, real experience, and essential safety tips so you can use incense cones confidently. Whether you want to create a calming atmosphere after a long day or use them during meditation and relaxation practices, the right method makes a noticeable difference.
What Are Incense Cones and How Do They Work?
Incense cones are compact, cone-shaped pieces made from aromatic powders, natural resins, herbs, and essential oils. Unlike incense sticks, they do not have a bamboo core. This means they are a self-contained combustible material, designed to burn from the top and release fragrance as they slowly smolder.
From my experience, this design leads to a concentrated aroma release. The scent feels fuller and more immersive compared to sticks. Because of their compact design, they also burn faster, usually within 15 to 30 minutes, depending on size and quality.
Understanding how incense cones work helps you use them better. When you light the tip, the flame starts a controlled combustion. Once you blow out the flame, a glowing ember remains. This ember drives the fragrance release mechanism, producing steady smoke. This smoke carries the scent molecules into the air, leading to aromatic smoke diffusion across the room.
The direction of smoke depends on the type. Standard cones release smoke upward, while backflow cones create a downward cascade effect. Both rely on airflow and combustion to maintain a consistent burn.
You will also notice a small pile forming at the base as the cone burns. This is part of ash collection and residue, which is completely normal. Using a proper burner helps manage this cleanly.
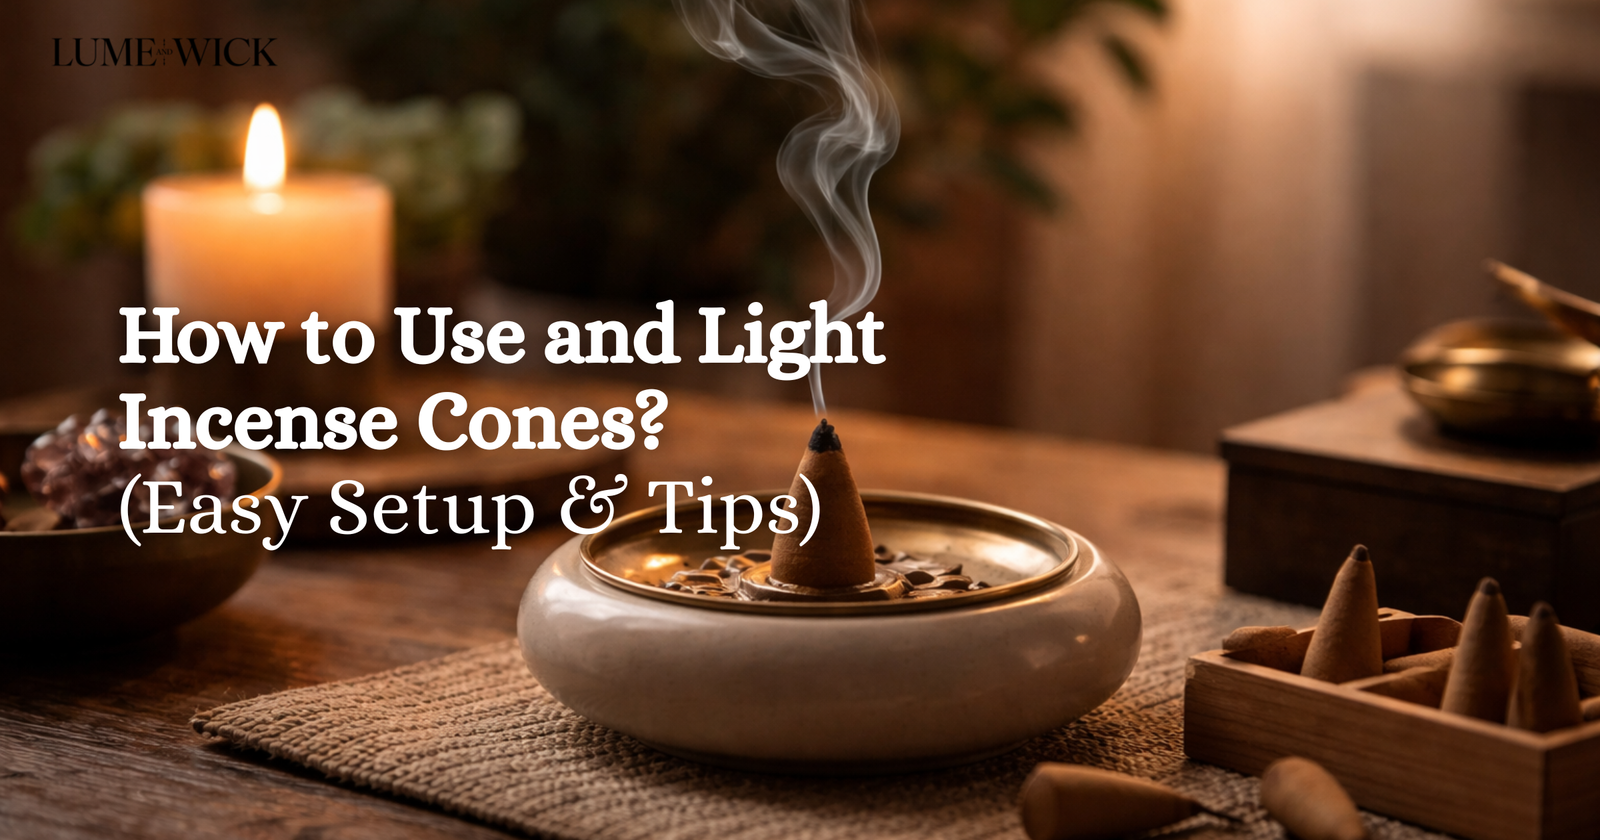
How to Use Incense Cones (Step-by-Step Guide)
When people ask for an easy way to light incense, they often miss the importance of preparation. Over time, I realized that small steps like choosing the right burner or placing the cone correctly can completely change the result. This section acts as a practical incense cone burning guide that you can follow every time.
Choose the Right Incense Cone and Burner
Start by selecting a good-quality incense cone. You will find both handcrafted and machine-made options, along with standard and backflow variants. Natural cones made with essential oils tend to provide a cleaner scent and better experience for aromatherapy with incense cones.
Equally important is the burner. Proper incense cone burner usage ensures safety and improves performance. Always use a heat-resistant holder designed to catch ash. A ceramic or metal burner works well. It also supports proper incense cone placement, which helps maintain stability while burning.
From personal use, I found that using a flat, stable burner improves burn consistency and reduces uneven smoke output.
Place the Cone on a Stable, Heat-Resistant Surface
Before lighting, position the cone securely on the burner. This step may seem basic, but it directly affects safety and burn quality. Always place the setup on a heat-resistant surface and keep it away from curtains, paper, or any flammable material.
Good indoor air circulation and incense placement also matter. Avoid completely closed rooms. A slight airflow allows better fragrance dispersion in room without making the smoke too heavy.
This step plays a key role in lighting incense safely indoors, especially if you plan to use it regularly.
Light the Tip of the Incense Cone Properly
Now comes the actual ignition. Hold a matchstick or lighter close to the tip of the cone. This acts as the primary heat source for incense. Let the flame touch the tip for a few seconds until it catches fire.
This stage defines the success of the entire process. The ignition time is usually short, but rushing it can lead to incomplete burning. Once lit, you will see a small flame forming at the tip.
Many beginners struggle here and wonder how to start incense cone correctly. The key is patience. Allow the tip to burn evenly before moving to the next step.
Let the Flame Burn Briefly, Then Blow It Out
After a few seconds, gently blow out the flame. What remains should be a glowing ember at the tip. This ember is essential for maintaining a steady burn.
This step is part of the correct ignition and extinguishing methods. If done properly, the cone will start releasing a consistent stream of smoke. If the ember is weak, the cone may stop burning midway.
When done right, you will notice a balance between smoke density and fragrance. This is where the incense cone burning technique becomes effective.
Allow the Fragrance to Diffuse in the Room
Once the cone is smoldering, let it do its job. The smoke will rise or flow depending on the type, gradually filling the space. This is the stage where fragrance release mechanism and aromatic smoke diffusion work together.
In my experience, placing the cone slightly away from direct airflow helps maintain better smoke intensity control. Too much air can burn it faster, while too little can make the smoke heavy.
The scent begins to settle into the room, creating a calm environment. This makes incense ideal for spiritual rituals with incense, quiet evenings, or even simple moments of relaxation.
You will also notice the scent longevity in room lasting beyond the burn time. A good cone can leave a subtle fragrance even after it finishes.
Extinguish Safely After Use (If Needed)
Most cones burn out naturally, but sometimes you may want to stop them early. In such cases, use sand or a small amount of water to safely extinguish the ember.
Avoid touching the cone directly as it remains hot during the cooling time after burning. Once fully cooled, clean the ash from the burner. Regular cleaning prevents buildup and maintains hygiene.
This final step ensures proper ash production amount management and keeps your setup ready for the next use.
Tips for Using Incense Cones Effectively
After using incense cones regularly, I realized that technique matters just as much as quality. Small adjustments can improve the entire experience, from fragrance clarity to burn consistency. These incense cone tips come from trial and error and help you get the most out of every cone.
Proper ventilation plays a major role. Many beginners assume a closed room will trap the scent better. In reality, slight airflow improves indoor air circulation and incense performance. It prevents smoke buildup while allowing smooth fragrance dispersion in room. A partially open window works well without disturbing the burn.
Timing also affects the outcome. I prefer using incense cones in the evening when the environment is calm. This enhances meditation and relaxation practices and supports a deeper sensory experience. Morning use works well for temple and home incense use, especially during daily rituals or पूजा.
Another important factor is placement. Keeping the burner at a slightly elevated position helps with better aromatic smoke diffusion. Avoid placing it directly under a fan or air vent. Strong airflow increases the burn rate and reduces incense burning duration, which impacts scent longevity.
Quality selection matters more than most people think. A higher quality vs price ratio often results in better fragrance, lower ash residue, and more consistent burn. Natural cones with essential oils offer better effectiveness for relaxation and reduce harsh smoke.
If you want to control fragrance intensity, adjust the room size or the number of cones. One cone is usually enough for a medium space. Using multiple cones at once increases fragrance intensity level but may also increase smoke density.
Cleaning is often overlooked. After each use, remove the ash to maintain proper ash collection and residue management. A clean burner supports better airflow and consistent burning in future sessions.
Common Mistakes to Avoid When Using Incense Cones
Even with a simple process, certain mistakes can affect performance and safety. I made a few of these early on, and fixing them improved the experience significantly.
One common issue is improper lighting. Many people do not allow enough time for the tip to catch fire. This leads to weak embers and uneven burning. Correct incense cone lighting steps ensure a steady smoke flow.
Another mistake is ignoring burner quality. Using random surfaces instead of a proper holder affects incense cone setup and can lead to safety risks. Always use a dedicated burner designed for heat resistance and ash collection.
Poor ventilation is another problem. Burning cones in a fully closed room increases smoke density and reduces comfort. Balanced airflow helps maintain proper smoke intensity control and improves scent clarity.
Placement errors also affect performance. Keeping the cone near flammable materials or unstable surfaces creates unnecessary risk. Safe placement supports better lighting incense safely indoors and prevents accidents.
Some users expect instant fragrance after lighting. In reality, the fragrance release mechanism takes a few moments to stabilize after the ember forms. Patience ensures a better outcome.
Another overlooked issue is trying to relight partially burned cones. Since incense cones are designed for a single continuous burn, reuse often leads to inconsistent smoke and reduced fragrance quality.
Conclusion
Using incense cones is simple, but the experience depends on how well you follow the process. When you understand how to use incense cones correctly, you can control fragrance, mood, and atmosphere with ease.
Focus on the basics. Choose a quality cone, place it safely, and maintain proper airflow. A steady ember creates balanced smoke and a calming scent, even within a short burn time.
With regular use, you will notice how different scents affect your mood and space. Consistency in setup and cleaning improves results and keeps the experience reliable.
If you want to elevate your home fragrance, try premium options from Lume & Wick for better scent quality and performance.
Frequently Asked Questions
How long do incense cones burn?
Most cones have a burn time of around 15 to 30 minutes. The exact duration depends on size, material quality, and airflow conditions. Larger cones or those placed in low airflow environments may burn slightly longer.
Can I reuse an incense cone?
Incense cones are designed for single use. Once burned, the structure changes, and relighting does not produce consistent fragrance or smoke. For best results, always use a fresh cone.
Why is my incense cone not smoking properly?
This usually happens due to incomplete ignition or poor airflow. Ensure proper lighting and allow the tip to form a strong ember. Balanced ventilation also helps maintain steady smoke output.
Are incense cones safe for daily use?
They are safe when used correctly. Always follow proper placement, maintain ventilation, and keep them away from flammable items. Moderate use ensures a comfortable and safe environment.